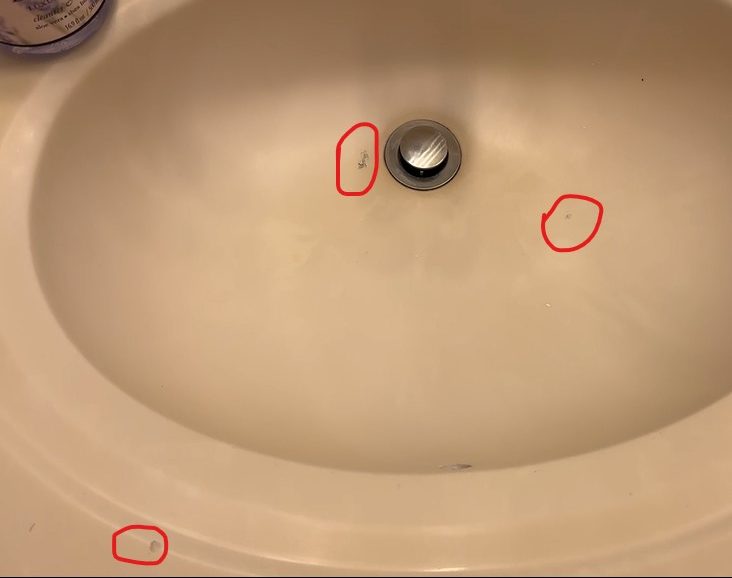
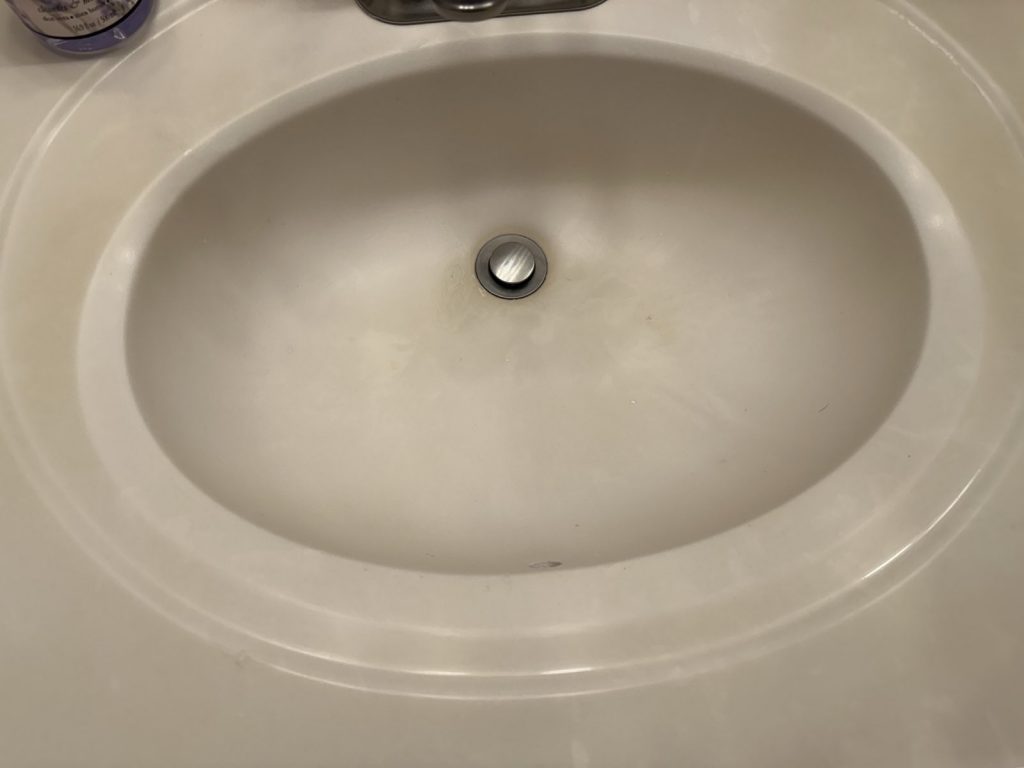
I was doing some Do-It-Yourself bathroom repair work replacing the water tank on a toilet. Without really thinking, I put down a wrench and slip-joint pliers on the bathroom sink, damaging it. It is an old sink, and probably a replacement was due. The prospect of having to spend on a replacement at this time did not sit well. I needed another option.
This post contains affiliate links. We may receive commissions if you click on our links and make purchases. This does not impact our reviews and product comparisons. We try to keep things fair and balanced to help you make the best choice for your needs.
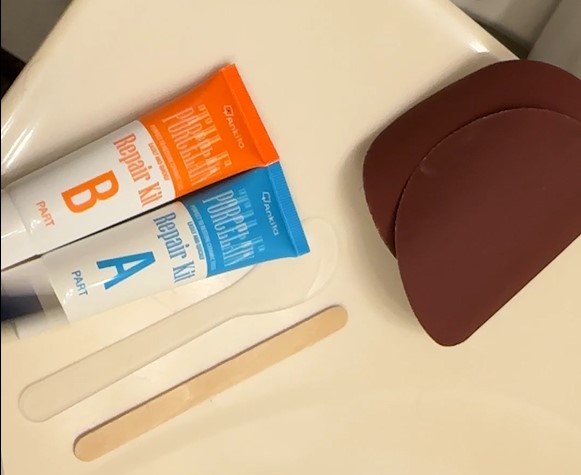
And lucky for me, there is. It is called a PORCELAIN & TILE REPAIR KIT.
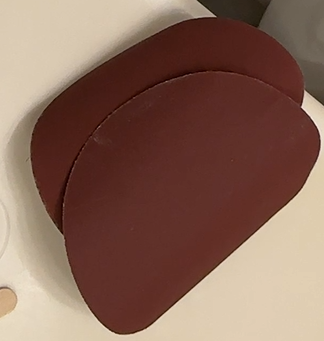
It consists of a tube with a resin, Part A, and another with a hardener, Part B. You mix both part A and part B in equal amounts. Also included in the kit is a plastic spatula and sanding paper.
Basically, it is an epoxy that you can use to repair tiles, tubs and, yes, bathroom sinks. The hardest task is finding the correct color to match my sink. My sink looks like Ivory, but it is also old and stained. So this will be a best guess. I am not expecting to find a perfect match. Just close. There are different versions of the kit that include the ability to custom color the epoxy.
Not sure if this works but, we will never know until we try.
You activate the epoxy by mixing the contents of the two tubes. Squeeze out just enough for what you need. For DIY work, this amount will be a best guess amount.
Steps to follow
Here are the steps I followed. Yes, I read the instructions, and this is the gist.
- Clean, and dry the area that needs repair. Make sure that it is free of grease.
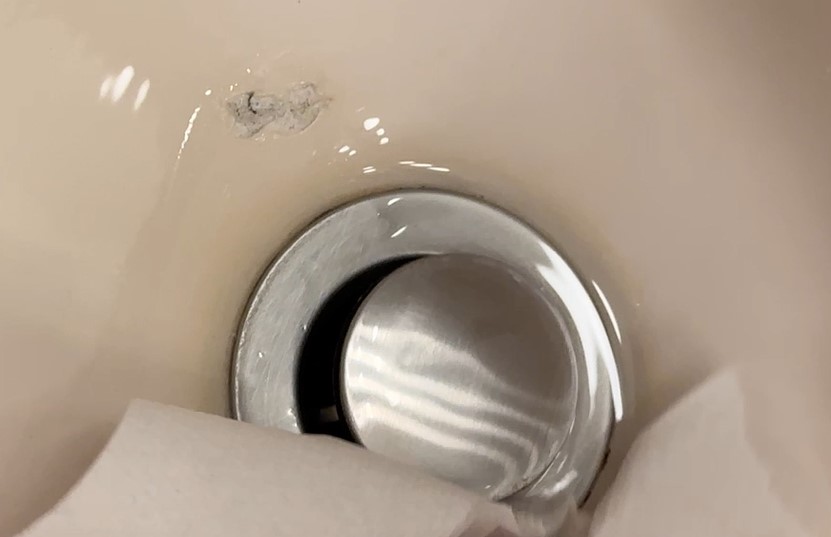
- Ensure that the surface is completely dry. I wiped it with a paper towel, then let it air dry overnight.
- Find a container you can use to mix the epoxy. I used a small Dixie paper plate.
- Squeeze out equal amounts from Tube A and B.
- Mix thoroughly. I used a disposable stick that I picked up from an art store.
- Use the included plastic spatula and spread the epoxy mix over the damaged area. To not apply an excessive amount. Doing so will make sanding harder.
- Allow the epoxy to dry overnight.
- Use the included sandpaper to sand the epoxy. Take care to avoid scratching the sink itself.
- And when done, Voila!
It isn’t perfect. But it will do until you are ready to get an actual replacement. And that may be a few years down the road.
You can also use a Tub and Tile Refinishing Kit to bring a new look for your sink, tub or tiles.